December 05
Shifter cable brackets are done and bolted on their places:


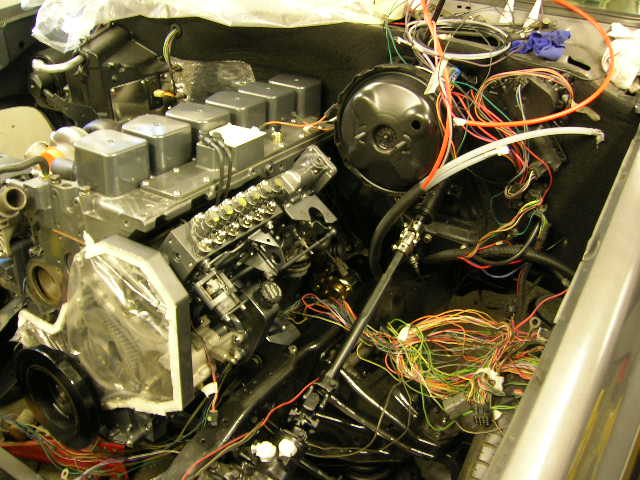
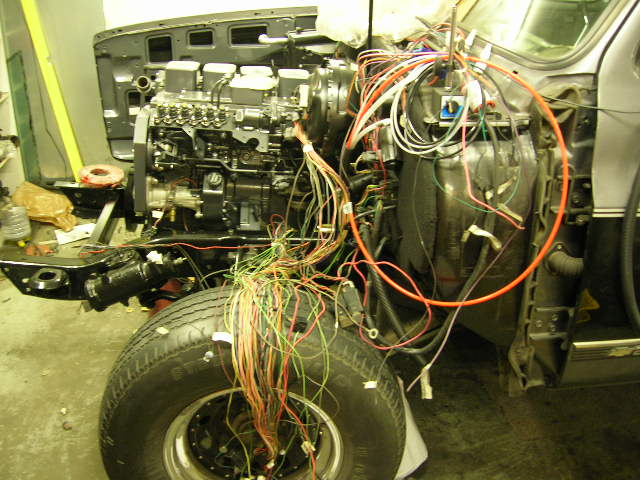
I teared apart a -96 wiring harness, because I want to route the wires differently, it's a little extra work but who cares anymore. Also some other parts has bolted on, it's starting to look alike Suburban again:
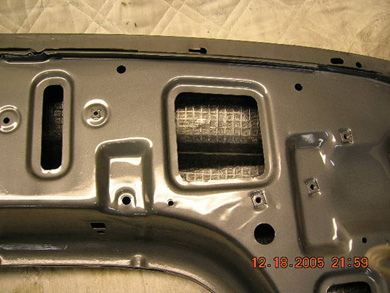
I did stainless fasteners for the fuel lines and electric wires going front to back inside the black tubes and bolted them on their places. Also added thin 2mm bitumen inside of the front fenders, for better noise control. Yesterday fabbed a fastener for shifter cable holder for the steering shaft end, haven't done the other end yet. Here's a few pics of the fasteners and fender:
Updates for a long time, most of the accessories are now bolted on and wires from front to back as well as the fuel lines are inserted in black oem style plastic tube. Next few evenings I most likely spend by fastening them to the frame etc. related things. Also tear apart -96 Dodge dash to get the speedo andRPM meter to mate them to the burban's instrument cluster, the small meters like egt and so on, are from Isspro, their colors seems to match for Dodge meters quite well, but more of that later, ones Iget that far:
November 05
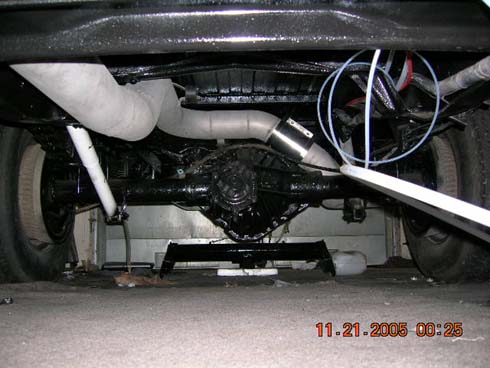
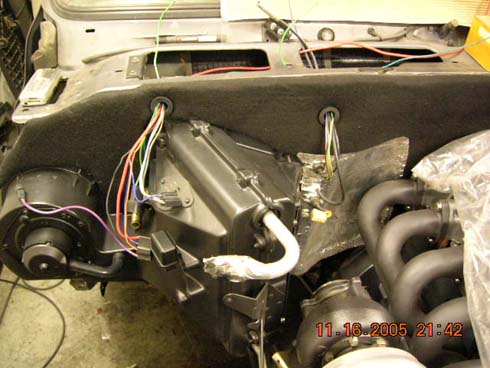
Got the downpipe and rest of the exhaust system bolted on last night, also started to do some wiring. I decided to route the wires behind the firewall to get a cleaner look for the engine bay. After all the wires are there, I cover them with the black plastic tube what factory uses:
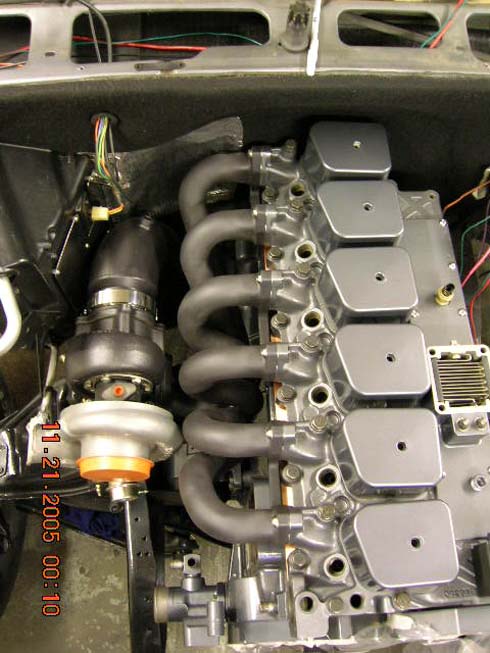
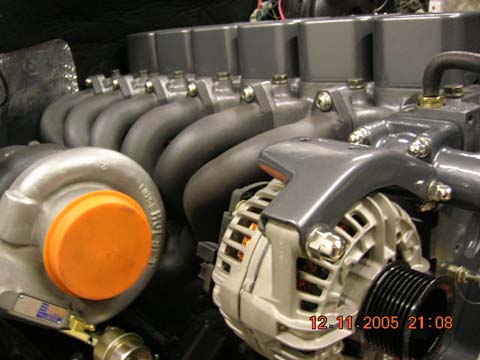
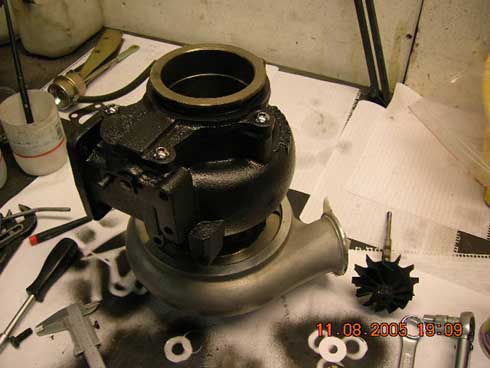
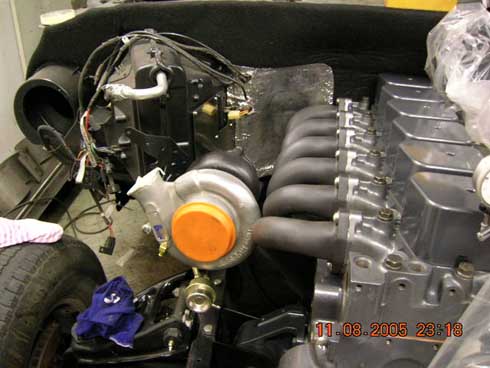
Turbo bolted back together with coated exhaust side and new turbine wheel, Thanks to Scott Benz. http://www.cumminsracing.com/ for helping me to get a new wheel to replace the old damaged one, which is next to turbo:
October 05
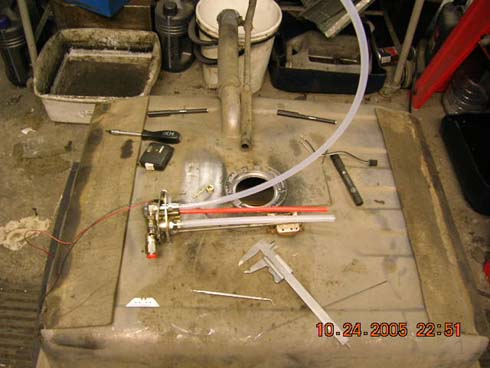
Update for a long time. Most of the time has been spent around the engine and accessories, by cleaning and painting them. ARP's are on the shelf, not yet installed. New tank flange is also done, the long tube is a return line, I wanted it far as possible from the supply line to avoid air bubbles entering in to the feed line. The orange line is a breather tube, it just needs to be shortened a bit:
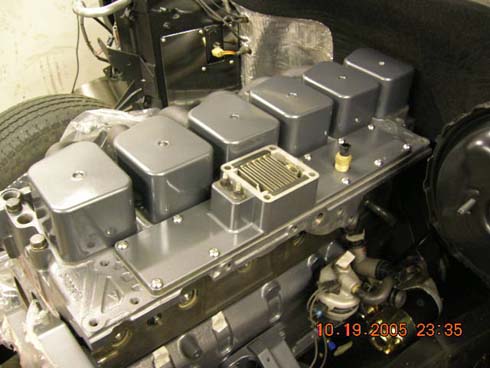
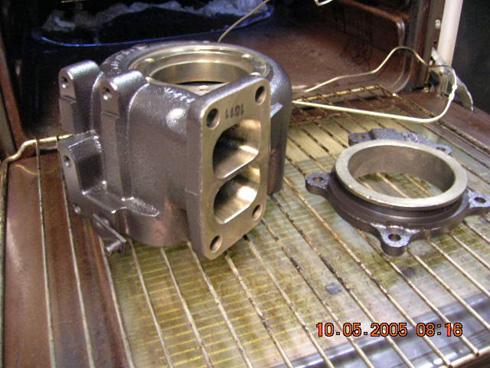
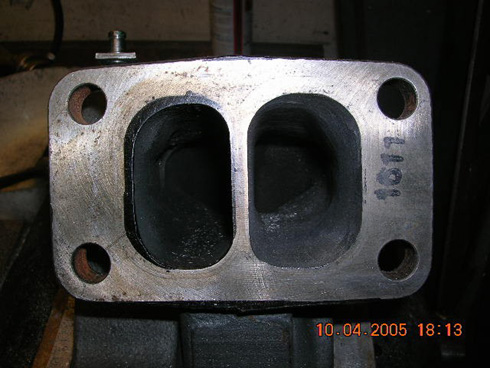
Matched the turbo inlet for the exh. manifold flange and gasket. Right side rough grind is done, on left, the black colored area need to be grind off and smooth for the runner. The other pic is taken this morning, turbo coated with BHK. Bakery has been busy again:
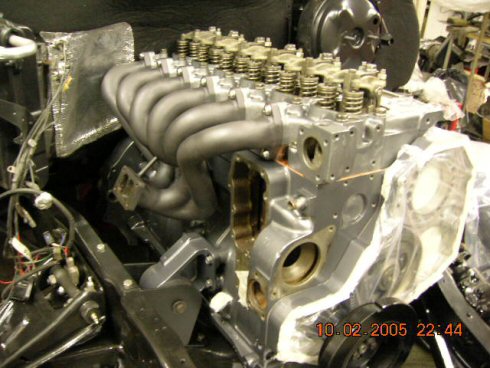
Exhaust manifold on it's place:
September 05
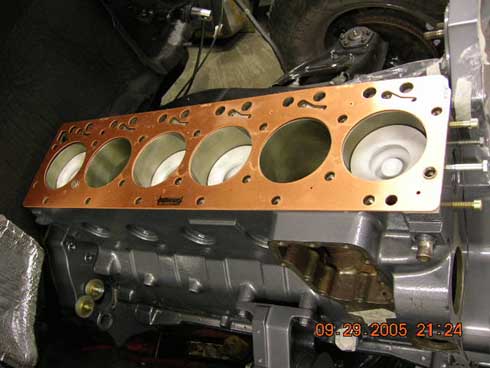
Head installed with copper gasket from Flatout Group:
http://www.flatoutgroup.com/
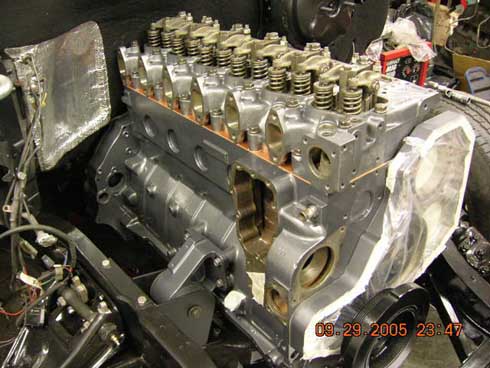
Steel wires on their places, I used small magnets to hold down the
wire and then added a few drops of Loctite to keep them on place
during installation of the head:
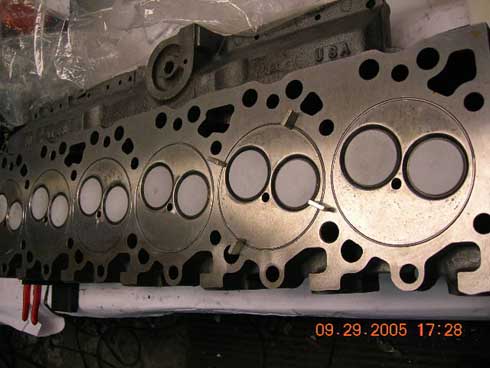
The valves installed with springs:
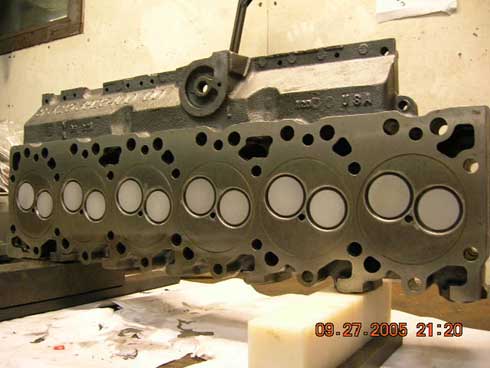
Valves coated with CBC1 and baked in the oven:
Painted and bolted, now it's time to do some clean up and continue
work with other things:
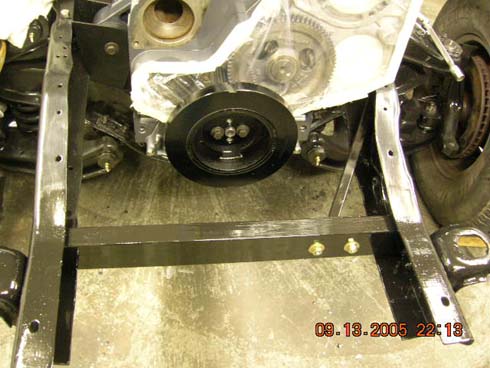
Front cross member with steering box support beam is done except
painting of it. Painted it with primer last night write after taking
the pics, will top coat it today and bolt it on. To bolt the flanges I
used already made holes on the frame and grind off the rivets that
were used for front body mounts, and to be able to "slide" the cross
member in with the flanges:
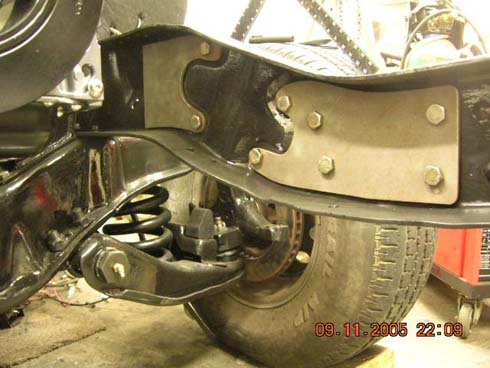
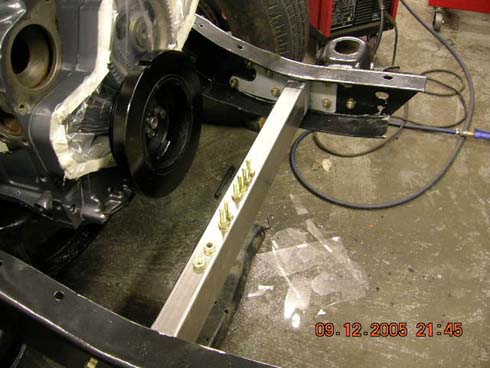
Left hand engine fastener done, now it sits there by it's own:
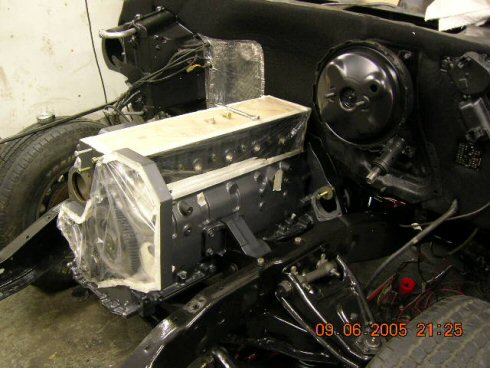
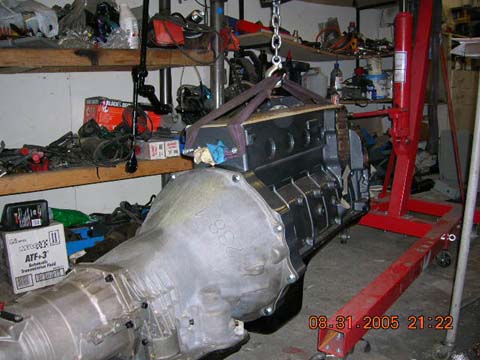
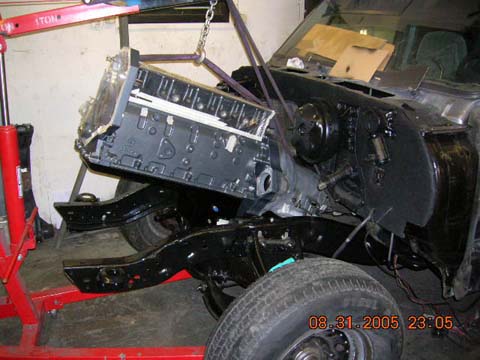
Last night get the engine and tranny bolted together and started to shoe horn the combo in the Burban:
August 05
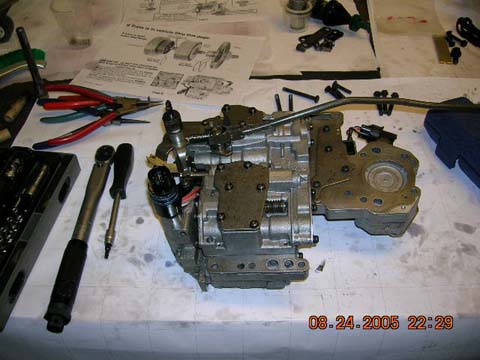
Got the transmission bolted back together, thanks to Scott for getting the spring for me:
Laatikko niputettu, puuttunut jousi tuli TDR:n keskustelupalstan tuttujen kautta!
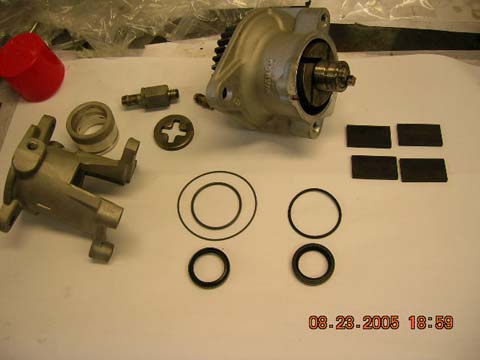
Got the vacuum pump serviced yesterday, I find all the rubber's except the big O-ring from a local shop, but I doubt that's never going to leak, I believe the reason for leaks is the lip seal:
Alipainepumppu huollettu, tiivisteosat Top-osasta (!) suoraan hyllystä, hinta 5,5euroa...
The stuff
The grind
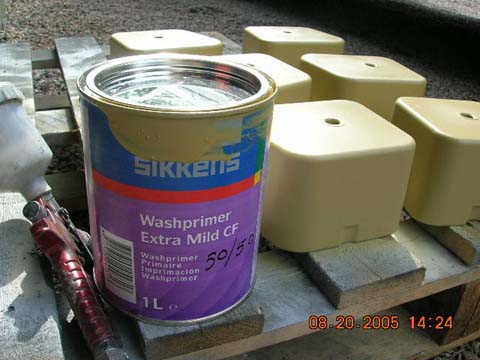
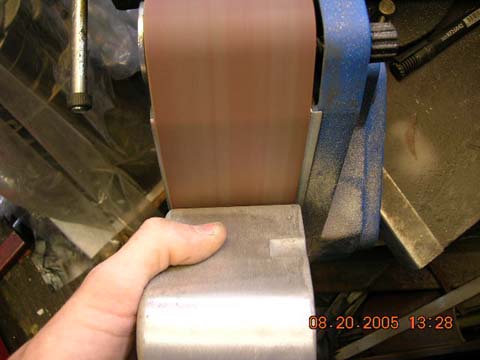
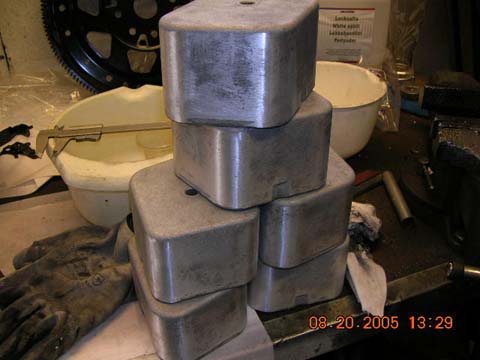
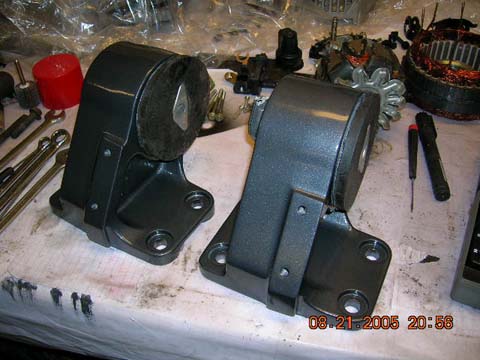
Grinded valve coversWhile waiting parts for the engine and tranny, I decided to do some painting to get things forward. The valve covers where already blasted so I just grind the casting seems etc. smooth, then sprayed primer for aluminium. Now they are ready for more coatings, like spray filler to get mirror smooth finish. The engine mounts went through the similar procedure and they turned out to be pretty nice after top coating.
Motor mounts, looking great i think. Note the alternator in the background, decided to renew its bearings, since it was "on the way"...Oil pan installed, 10 min job to bolt it on, but before that I spend an hour and half to polish the stainless hex screws...
Öljypohja asennettu, 10minuutin homma, mutta venähti vähän kun piti ruuvejakin alkaa kiillottaa.
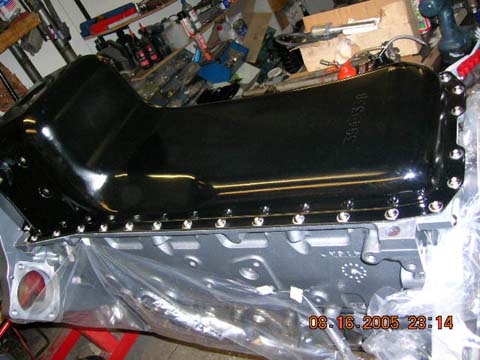
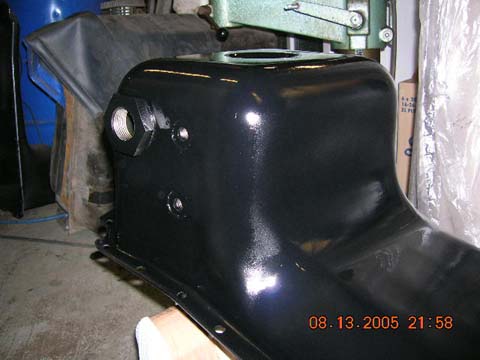
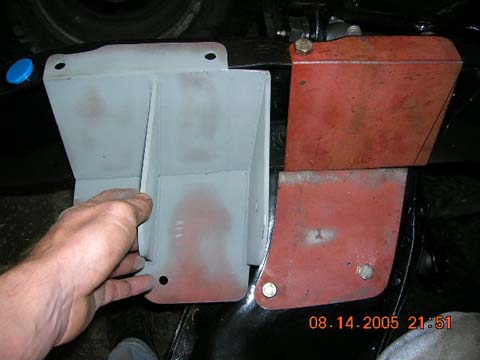
Got the oil pan mods. done on Sunday, big nut is for oil heater (Kim hot start 600W) and the small one next to it, is for future use, e.g. oil temp meter and the top most is for thermostat to control the oil heater. Also started to make a new engine fastener for passenger side. It allows me to use 98-02 model engine side rubber on that side too, which will locate the new fastener better for the cross member than old one, see the pic.
Öljypohjan muutokset tehty, reiät öljynlämppärille ja varareikiä tulevaisuuden varalle(?), lisäksi apparin puolen koneen kiinnike uusiksi, niin että voin käyttää 98-02 mallin kiinnikettä.
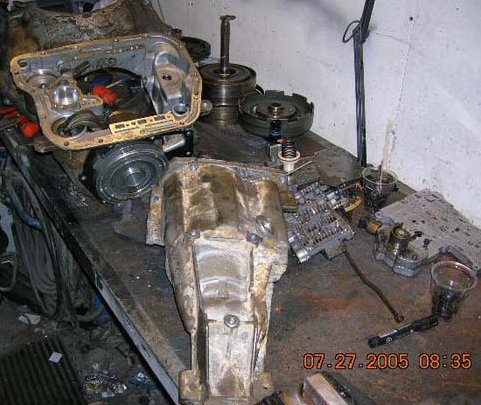
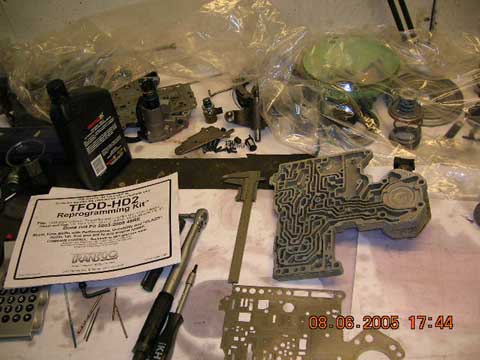
Transmission now done with TFOD-HD2 shift kit from Transco. Unfortunately it had a broken clutch valve spring in lower housing. Got to find a new one, before it can be bolted back together. Also replaced the rear servo piston for billet made.
Olipa hyvä että tuli avattua, Transcon shift kit asennettu, laatikossa oli rikki kytkinventtiilin jousi ala osassa. täytyy metsästää uusi ennen kuin laatikon voi kasata. Myös taka mäntä vaihdettu servoon
Transco Shift kitWhile waiting for oil ring to get the last piston in, I decided to open up the transmission to check the clearances etc. got it almost teared apart during last night.
Öljyrenkaita odotellessa päätin avata laatikon tarkistusta varten ja "koska se nyt vaan on siinä"...
