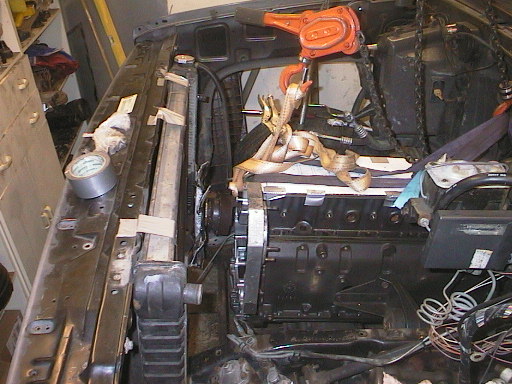
May 04Turbo is going to be located around here, the turbine side of it can be easily rotate to desired position.
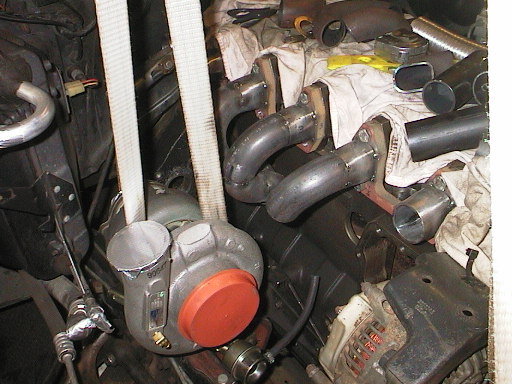
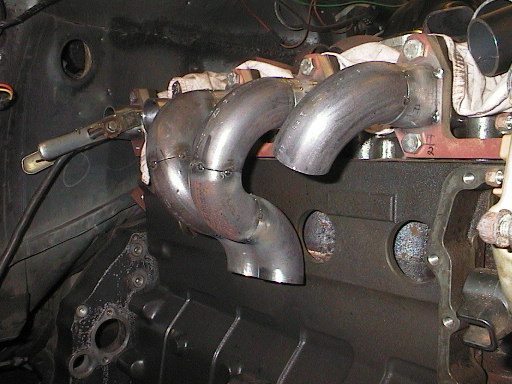
I'll also cut down the base of oil filter and relocate it to a different place but more of that later.
First tubes spot welded to the flanges, the head on it's place with old head gasket, next step is to "hang" the turbo on it's place and start tubing.....lot's of fun..
April 04
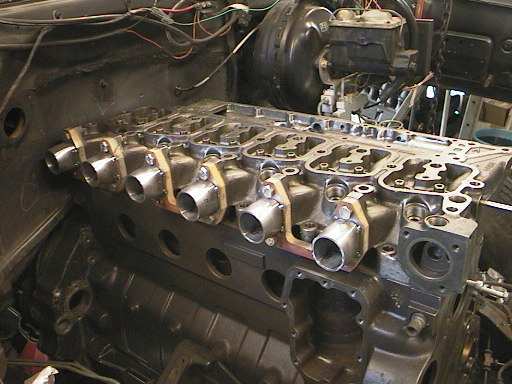
I got the flanges back home from cutting company. Now it's time to drill bolt holes and do fine grind to match port shapes to the head, I left the ports 1mm smaller than actual ports on the head.
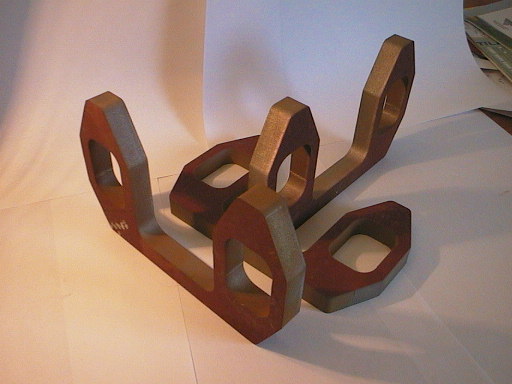
Scroll down, for latest news on header square tubes! While waiting for the flange I decided to make ready the first parts of tube what will be welded to the flange,
Beam
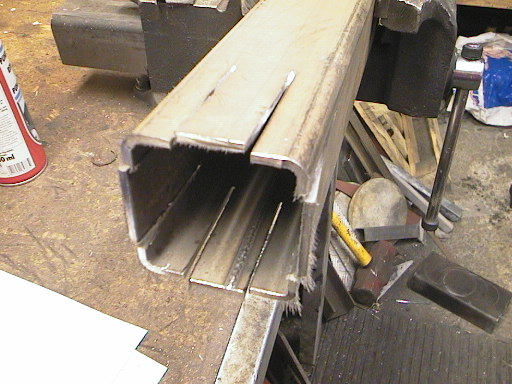
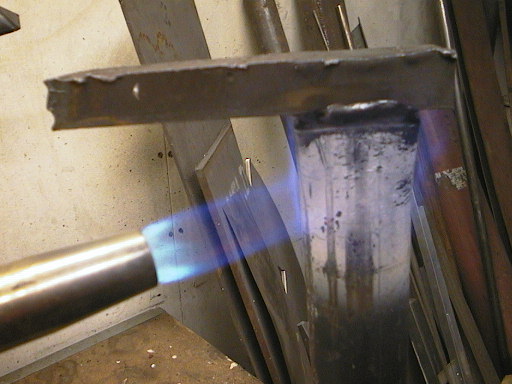
Halfsas you know I'm using tube for it and exhaust ports are rectangular shape in 12 valve heads.
A Archeological found! a cave mans Tool from Siberia...So, I need to do some kind of tool to reshape a tube to rectangular hollow. Here a few shots what I take while fabricating it and the pics of doing first reshaping.
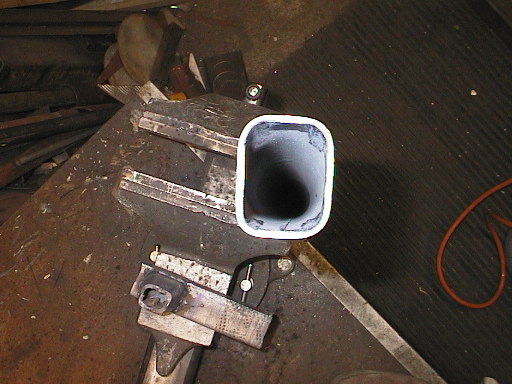
22nd of April:
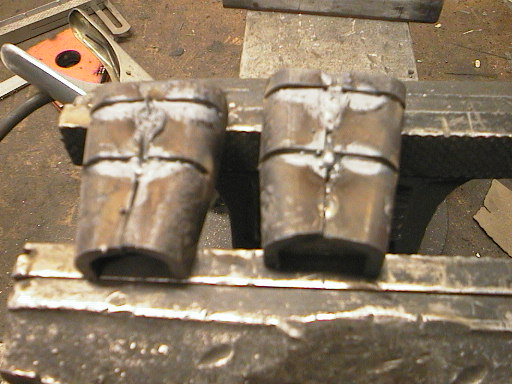
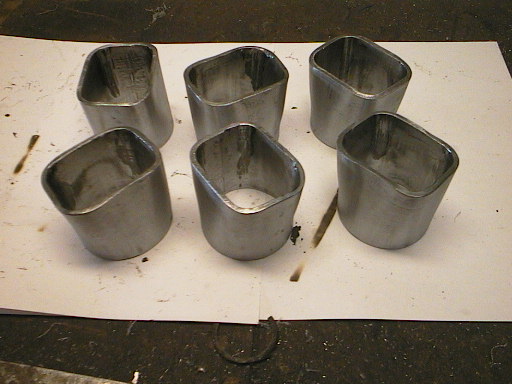
Again some finished design Products from Käpy-factory: Ready made reformed square tubes:
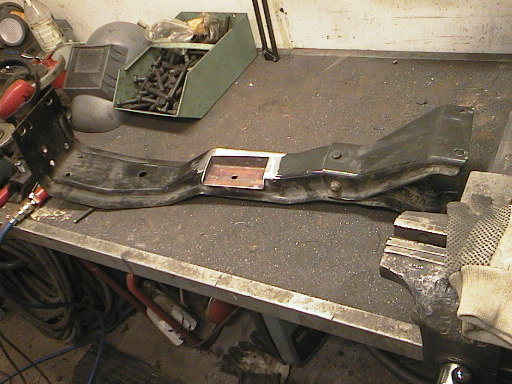
Cross member under transmission after modifications to accept the 47RE.
march04
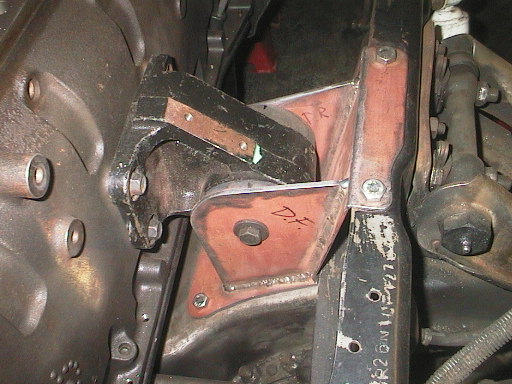
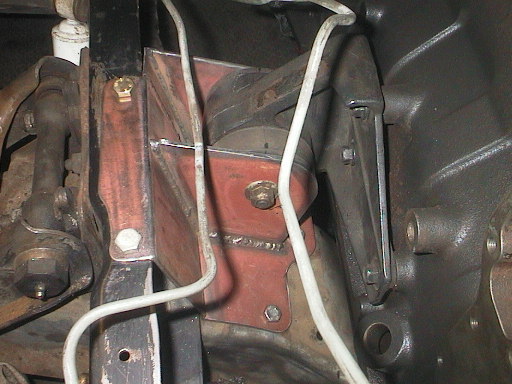
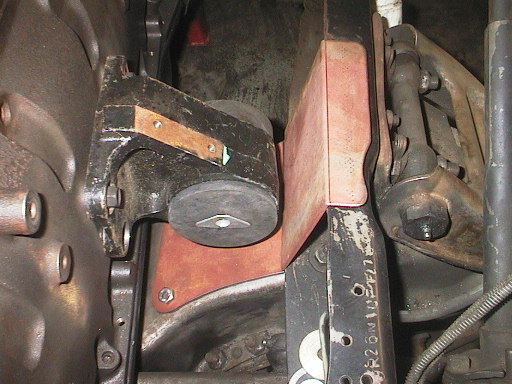
The engine mounts are ready except the painting ;-) and block is sitting in the bay with the new mounts. Next I'm going to modify the old transmission cross member to accept the 47RE
Mounts created!
Mounts in place!
Engine fasteners spot welded.
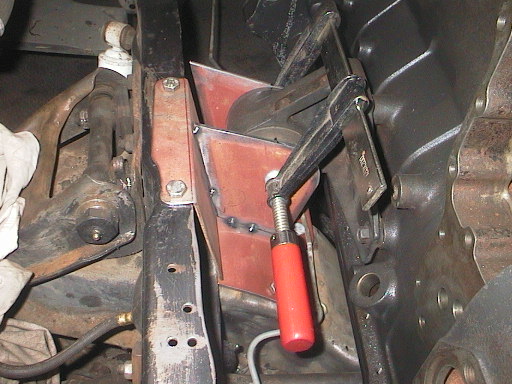
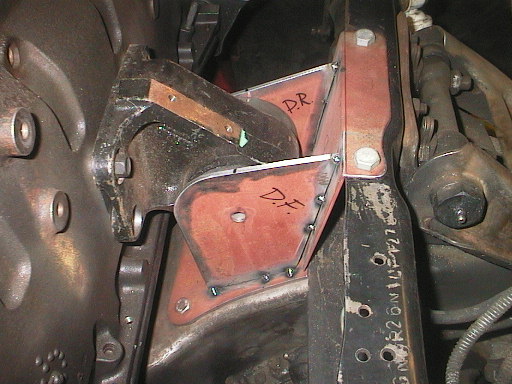
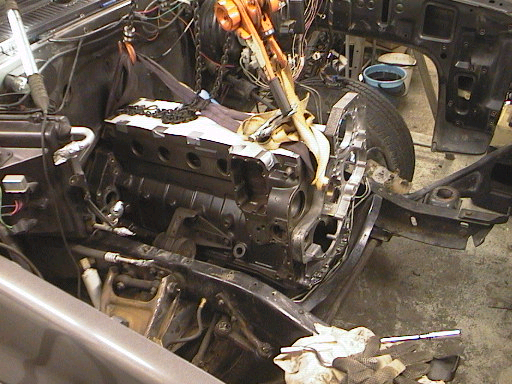
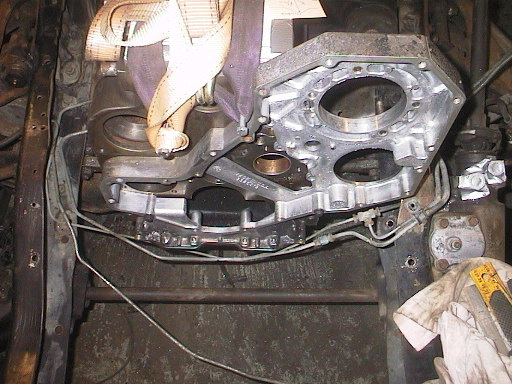
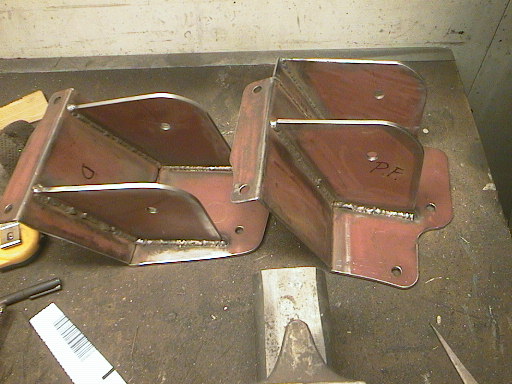
Making of engine mounts, I'm using on drivers side 98-02 passenger side engine mount to get more clearance between frame rail and it.
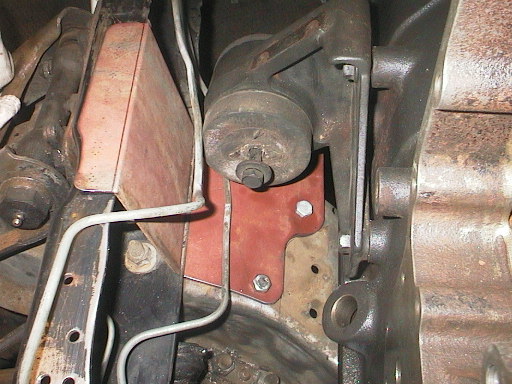
Feb 04
I need to took off the "small" front cross member to get a more space for the damper and to be able lower the engine a bit more. Looks like this is going to be pretty much the final location. The ac compressor needs to be relocated, there's no hope to put it in the original place but more of that later, maybe after month or two.....
Tight fitting, the clearance for fan is quite small...
Jan04
1990 Suburban,removal of 454cid
Ready to lift off...
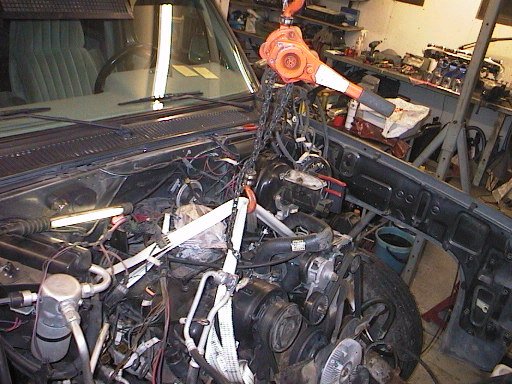
And off it goes, next step is to remove the wiring harness of the computer/TBI and took off the tranny.
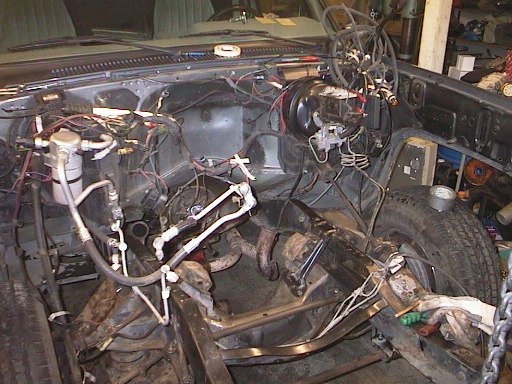
This is the point where I got during the sunday evening.
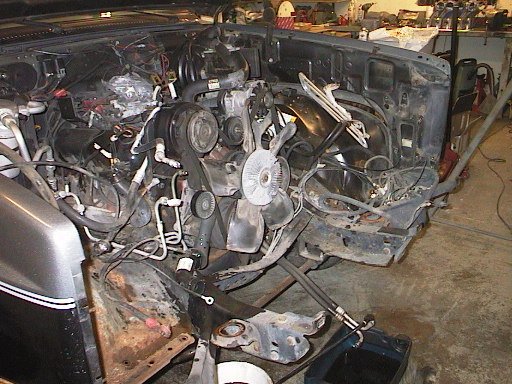
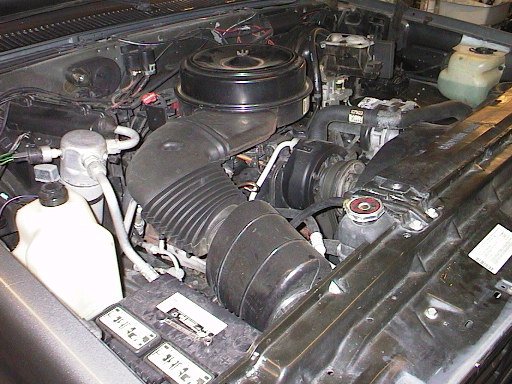
Engine room with stock 454cid, like it came from the factory, it's nice to compare this picture after Cummins is swapped in, it sure would look a bit different.
Cummins engine mods:
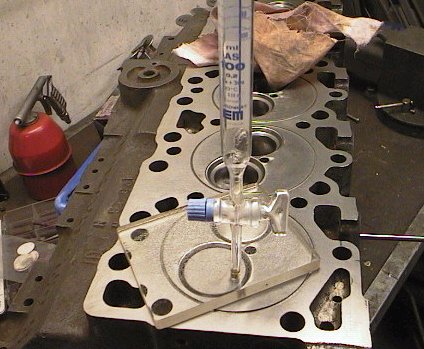
Measuring the valve pockets, intake 9,3cc and exhaust 6,4cc making total volume 15,7cc
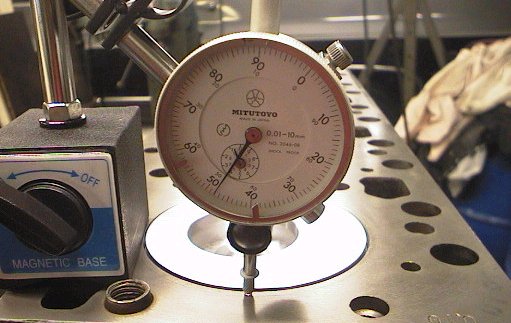
Measuring the piston protrusion on #1 cylinder, it's 0.48mm which makes sense since the pistons compression distance is 0.20mm lower than stock and deck has been milled 0.10mm. According to shop manual the protrusion should be 0.609-0.711mm when using stock grade A piston. I need to cc the valve pockets on the head and calculate final CR ratio before I know should I leave it like this. BTW the protrusion between cylinders was 0.45mm to 0.48mm, not bad at all :-)
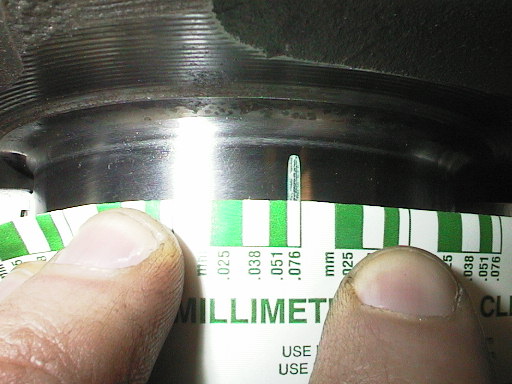
Crank installed "dry" with new bearings to check the clearance with plastic wire.
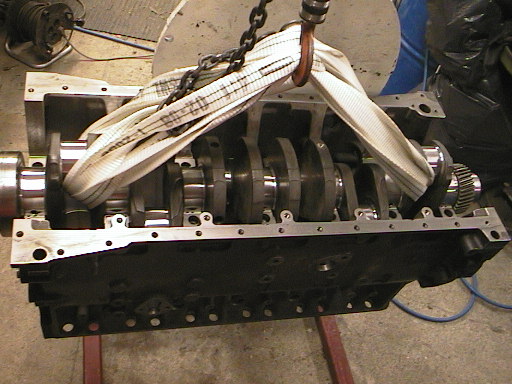
The clearance seems to be .076mm in every main bearing, next the crank is lifted off and installed back with oiled bearings to check the rod bearings clearance by using same method.
